
Can you mold a football mouthpiece at home? Yes, you can! Molding a football mouthpiece at home is a common and effective way to achieve a comfortable and protective fit. This process, often referred to as fitting a boil and bite mouthguard, is designed for convenience and allows athletes to personalize their gear. While professional custom mouthguards offer the ultimate fit, a well-molded boil and bite mouthguard provides excellent protection for football players.
This guide will walk you through molding a sports guard safely and properly at home, ensuring you get a perfect fit for your football gear fitting. We’ll cover everything from preparation to the final fitting, making sports mouthpiece molding straightforward.
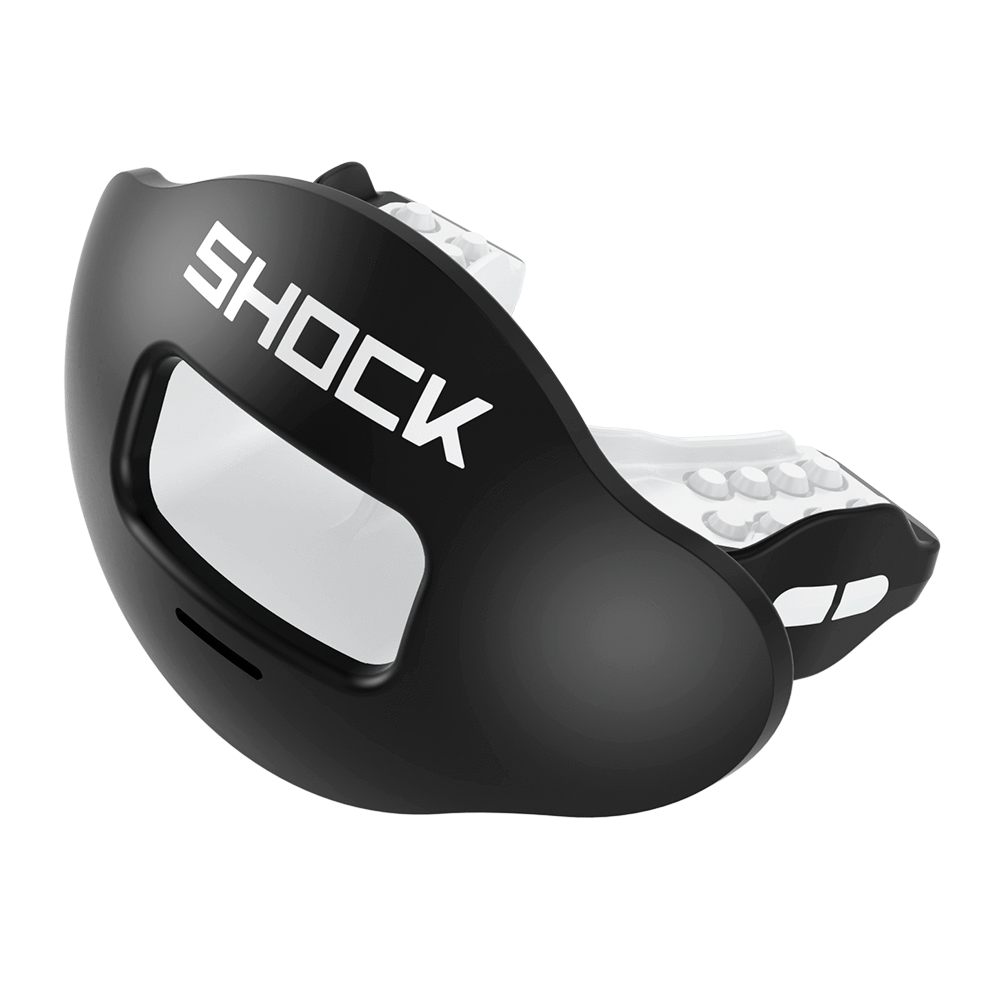
Image Source: www.shockdoctor.com
Why a Proper Fit Matters for Your Football Mouthguard
A football mouthguard isn’t just a piece of plastic; it’s a crucial piece of safety equipment. A properly fitted mouthguard protects your teeth, jaw, and even your brain. When you’re in the heat of a game, impacts are inevitable. Without a good fit, your mouthguard can shift, fall out, or not provide the intended protection. This is why proper mouthpiece fitting is essential.
Protecting Your Pearly Whites
The most obvious benefit of a mouthguard is dental protection. Football can lead to chipped teeth, broken teeth, and even knocked-out teeth. A mouthguard absorbs and distributes the force of impact, significantly reducing the risk of these injuries.
Safeguarding Your Jaw and Face
Beyond teeth, a well-fitting mouthguard can help prevent jaw injuries like fractures and dislocations. It can also offer some protection against lacerations to the lips and cheeks.
Reducing the Risk of Concussions
While not a guaranteed concussion-proof shield, research suggests that a properly fitted mouthguard can help reduce the severity of concussions. By stabilizing the jaw, it may help prevent rotational forces that contribute to brain injuries. This is a significant aspect of football gear fitting that often gets overlooked.
Enhancing Comfort and Performance
A mouthguard that fits poorly is distracting. It can impede breathing, speaking, and even swallowing. Molding a sports guard correctly ensures it stays in place comfortably, allowing you to focus on the game, not on adjusting your mouthpiece. This directly contributes to better overall sports mouthpiece molding for optimal performance.
Preparing for the Molding Process
Before you even think about dipping your mouthguard in hot water, proper preparation is key to a successful fitting a sports mouthguard. This ensures safety and a much better outcome.
Gather Your Supplies
You’ll need a few basic items readily available at home.
- Your Boil and Bite Mouthguard: Ensure it’s specifically designed for sports use.
- A Pot for Boiling Water: A small saucepan works well.
- A Bowl of Cold Water: For cooling the mouthguard.
- A Slotted Spoon or Tongs: To safely handle the hot mouthguard.
- A Mirror: To help you see what you’re doing during the fitting.
- A Timer or Clock: To track water temperature and immersion time.
- A Towel: To dry your hands and the mouthguard.
Reading the Manufacturer’s Instructions
This is arguably the most critical step in how to shape mouthguard correctly. Always read the specific instructions that come with your mouthguard. Different brands and types of mouthguards might have slightly different molding requirements. Skipping this step is a common mistake that can lead to a poorly fitted or even ruined mouthguard.
Water Temperature is Key
The “boil” in “boil and bite” isn’t literal boiling. Most manufacturers recommend water that is hot but not boiling – typically between 160°F and 180°F (71°C to 82°C). Boiling water can melt or deform the mouthguard improperly, making it unusable.
- How to Test the Temperature: You can use a kitchen thermometer for accuracy. If you don’t have one, you can pour boiling water into a cup, let it sit for about 30 seconds, then pour it into your pot. The water should be very hot, but not actively bubbling. A good rule of thumb: if you can hold your finger in it for a second without immediate pain, it’s likely in the right range.
Preparing Your Mouth
- Clean Your Mouth: Brush your teeth and rinse your mouth thoroughly.
- Dampen Your Lips: Lightly wet your lips. This helps prevent them from sticking to the hot mouthguard during the molding process.
Step-by-Step Molding Guide: How to Shape Mouthguard
Now for the main event – molding your custom football mouthpiece. Follow these steps carefully for the best results in fitting a boil and bite.
Step 1: Heat the Water
Fill your saucepan with enough water to fully submerge the mouthguard. Heat the water to the manufacturer’s recommended temperature (usually 160°F-180°F or 71°C-82°C). Do NOT let the water boil.
Step 2: Prepare the Mouthguard
Once the water is at the correct temperature, use your slotted spoon or tongs to carefully place the mouthguard into the hot water. Ensure it is fully submerged.
Step 3: Soften the Mouthguard
Let the mouthguard soak in the hot water for the time specified by the manufacturer. This is typically between 30 seconds and 2 minutes. Over-soaking can also lead to deformation. You’ll see the mouthguard become pliable and flexible. This is the crucial stage for sports mouthpiece molding.
Step 4: Remove and Drain
Using your slotted spoon or tongs, carefully remove the softened mouthguard from the hot water. Hold it by the part you will place in your mouth, not by the edges that will mold around your teeth. Gently shake off any excess water.
Step 5: Position the Mouthguard
This is where the fitting a sports mouthguard truly happens.
- Center it: Place the mouthguard over your upper teeth. It should feel centered.
- Bite Down Gently: Bite down firmly but not so hard that you push all the material out. You want enough pressure to engage the teeth.
- Use Your Fingers: With your lips slightly parted, use your fingers to press the mouthguard around your teeth and gums. Press the front, sides, and the palate area.
- Use Your Tongue: Press your tongue firmly against the inside of the mouthguard. This helps mold it to the roof of your mouth and secure it.
- Suction: Close your mouth and suck in gently. This creates a vacuum that helps the mouthguard adhere to your teeth and gums for a snug fit.
Hold this position for about 60 seconds, or as directed by the manufacturer. This is critical for achieving a custom fit.
Step 6: Cool and Set
While still holding the mouthguard in place, carefully remove your fingers and tongue. Take a deep breath through your nose. You can then plunge the molded mouthguard into the bowl of cold water for about 30 seconds to help it set and harden.
Step 7: Check the Fit
Once cooled, remove the mouthguard from the cold water and place it back in your mouth.
- Is it snug? It should feel secure and not easily fall out when you open your mouth.
- Can you talk with it in? You should be able to speak relatively clearly.
- Can you breathe comfortably? Breathing through your nose should not be significantly obstructed.
- Does it cover all teeth? Ensure it extends over the back molars for maximum protection.
- Any gagging? It shouldn’t extend too far back to trigger a gag reflex.
If the fit isn’t quite right, don’t worry. Most boil and bite mouthguards can be remolded.
Remolding for a Perfect Fit: Troubleshooting Common Issues
Sometimes, the first attempt at fitting a boil and bite isn’t perfect. Fortunately, most mouthguards can be remolded to improve the fit. This is part of the process of achieving a truly custom football mouthpiece.
Common Fit Issues and Solutions
| Issue | Possible Cause | Solution Bite mouthguards are a great starting point for most athletes. They provide good protection at a reasonable price.
Can I use a boil and bite mouthguard for sports other than football?
Yes, boil and bite mouthguards are suitable for many contact sports like basketball, hockey, lacrosse, martial arts, and any sport where there’s a risk of mouth injury. However, for certain high-impact sports or if you have braces, a custom-fitted mouthguard might be a better option.
Are there different types of boil and bite mouthguards?
Yes, there are. Some are designed for athletes with braces (offering a channel for the brace brackets), while others come with straps to attach to a helmet, which is common in football.
How often should I replace my molded mouthguard?
It’s generally recommended to replace your mouthguard every season, or sooner if it shows signs of wear and tear, such as cracks, thinning, or a loosened fit. This ensures it continues to offer optimal protection.
What if my mouthguard feels too thick?
If, after molding, it feels too thick or interferes with breathing, you might have bitten down too hard initially, pushing too much material towards the roof of your mouth. Remolding, focusing on biting down just enough to imprint your teeth, can help.
Can I trim my mouthguard if it’s too long?
It’s generally not recommended to trim a boil and bite mouthguard after molding, as it can compromise the integrity and fit. If it’s consistently too long or causes discomfort in the back of your mouth, it might be better to remold or consider a different size/style.
When should I consider a custom-fit mouthguard instead?
If you consistently struggle to get a good fit with boil and bite options, have significant dental work (like braces or bridges), or play a very high-impact sport where maximum protection is paramount, a custom-fitted mouthguard from a dentist might be a worthwhile investment.